Common causes, simple repairs, and the best materials to prevent screed cracking in heated floors.
"We just moved in, and 20 days after installing underfloor heating, the screed is covered in cracks… Disaster!”
“I even watered it for curing — and it still cracked. Why?!”

You’re not alone. Many homeowners and builders spend weeks planning their underfloor heating system, only to discover cracks in the screed after installation. But here’s the good news: most of these problems are solvable — and preventable.
1. Are Screed Cracks Always a Big Deal?
Not all cracks spell trouble.
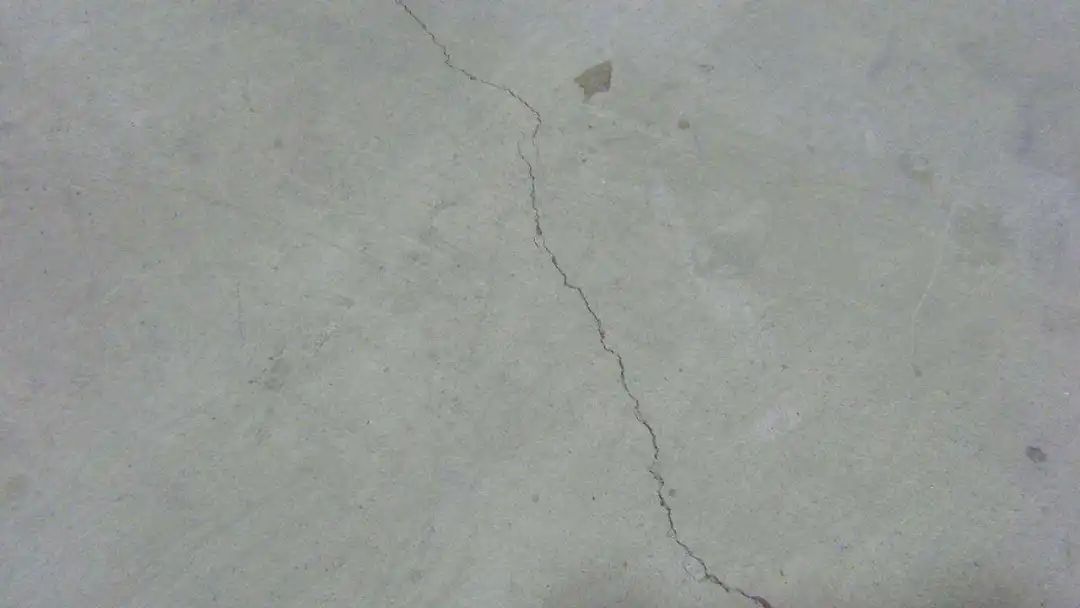
Tiny cracks (<3 mm wide) — Often just cosmetic, no impact on floor strength or heating efficiency.
Wide cracks, hollow spots, or no expansion joints — These are red flags and need repair.
2. Why Does Screed Crack After Underfloor Heating?
Underfloor heating is a multi-layer system, and each stage requires precise workmanship.
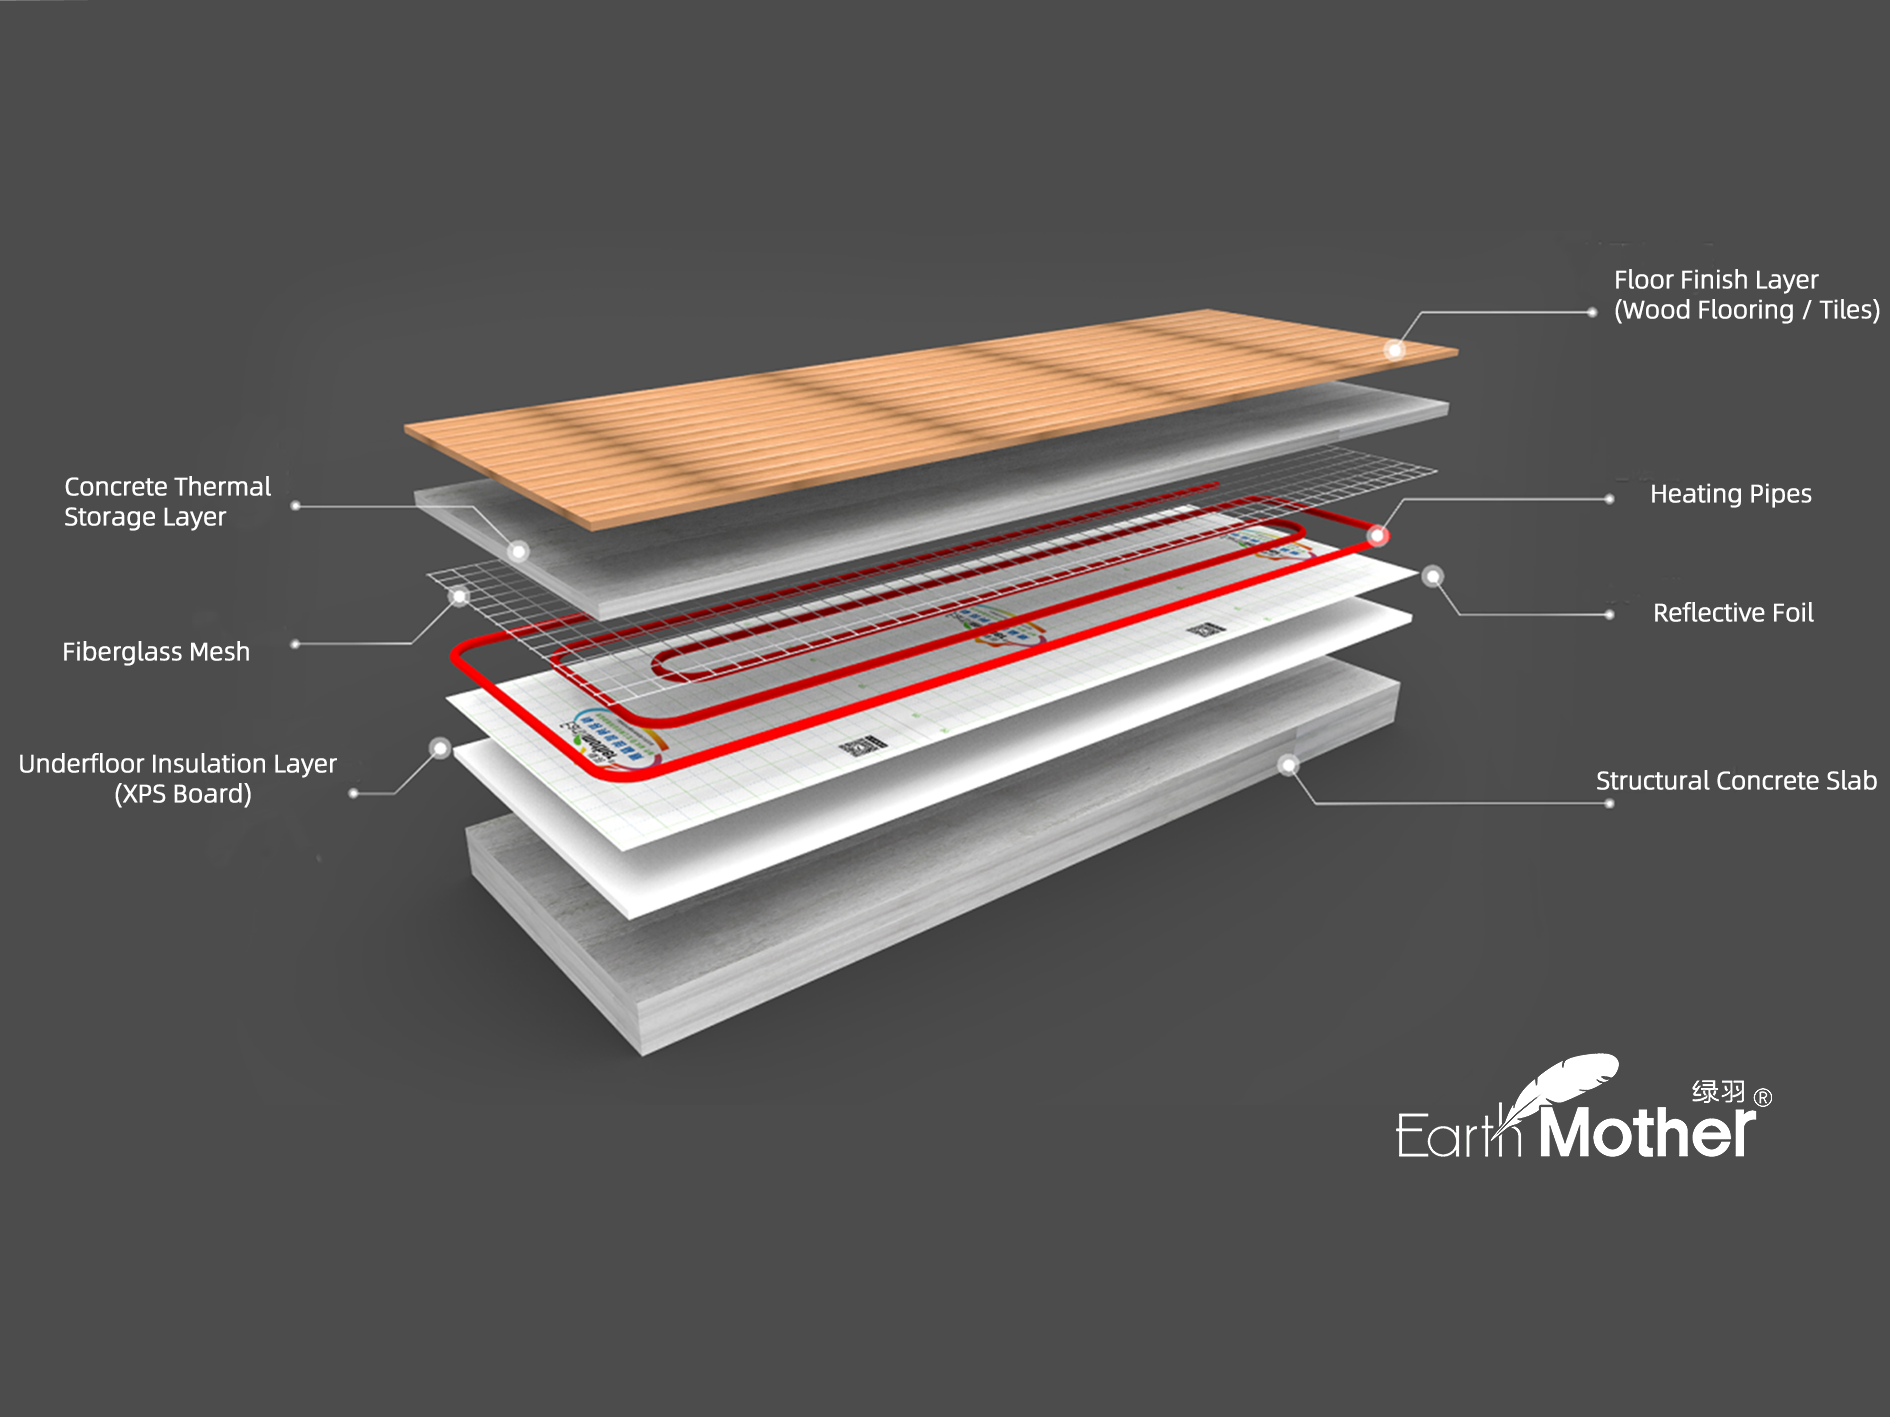
Cracking can be caused by:
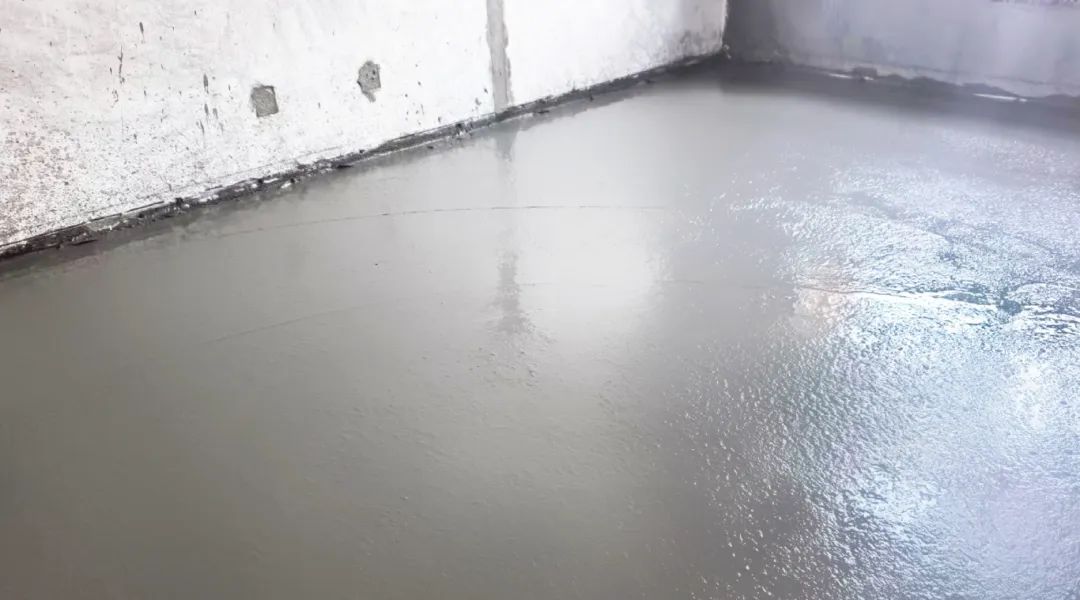
① Uneven Subfloor Before Screeding
Before laying insulation and pipes, the base should be level. Uneven structural floors can leave voids under the insulation, causing hollows in the screed and eventual cracking.
② Poor Heating Pipe Installation
Pipes have “memory” — if not clipped tightly, they can pop up during pouring, causing weak areas.
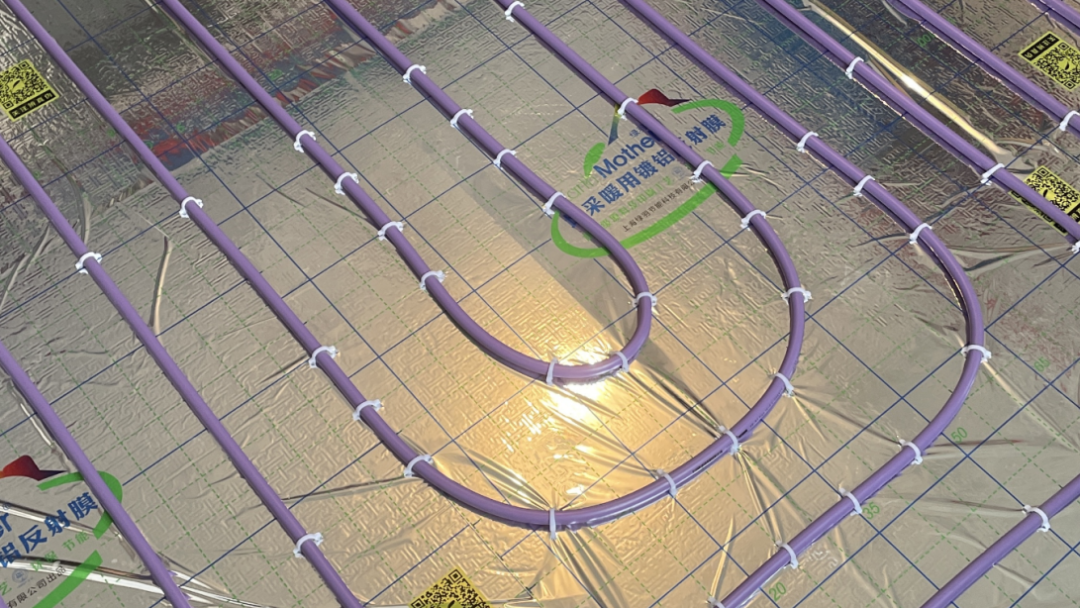
Tip: Follow JGJ142-2012 standards — avoid sharp bends and secure curves with extra clips.
③ Incorrect Screed Mix
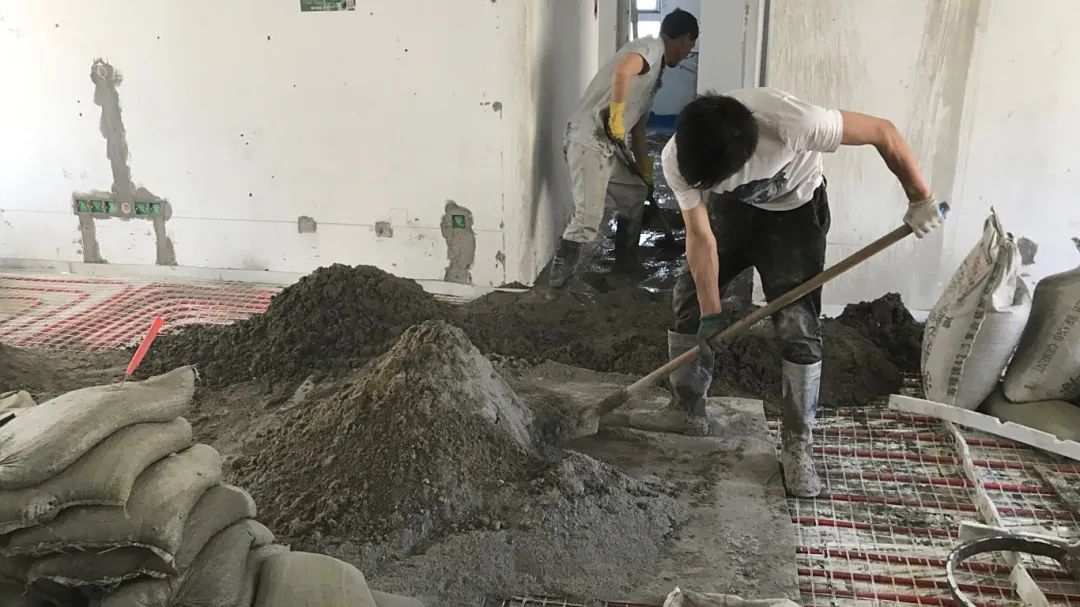
For heated floors, the magic recipe is 1:2:3 (cement:sand:pea gravel), with C15 or C20 pea-gravel concrete (5–12 mm aggregate). Higher-strength mixes shrink more as they dry, increasing crack risk.
④ Insufficient Screed Depth
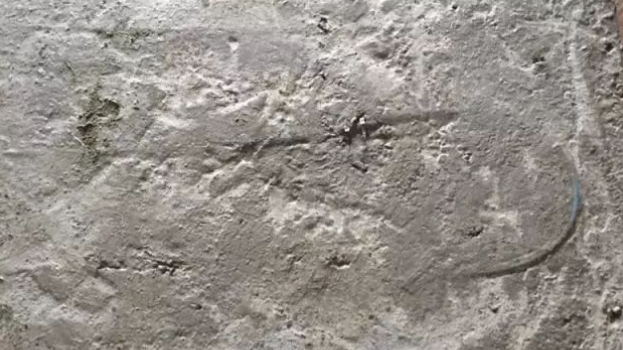
Always keep 1–2 cm above pipe tops (3–5 cm total thickness). Too thin and it can’t handle thermal expansion forces, leading to cracks.
⑤ Missing Anti-Crack Reinforcements
Some installers skip edge insulation strips or expansion joints to “save time” — a big mistake.
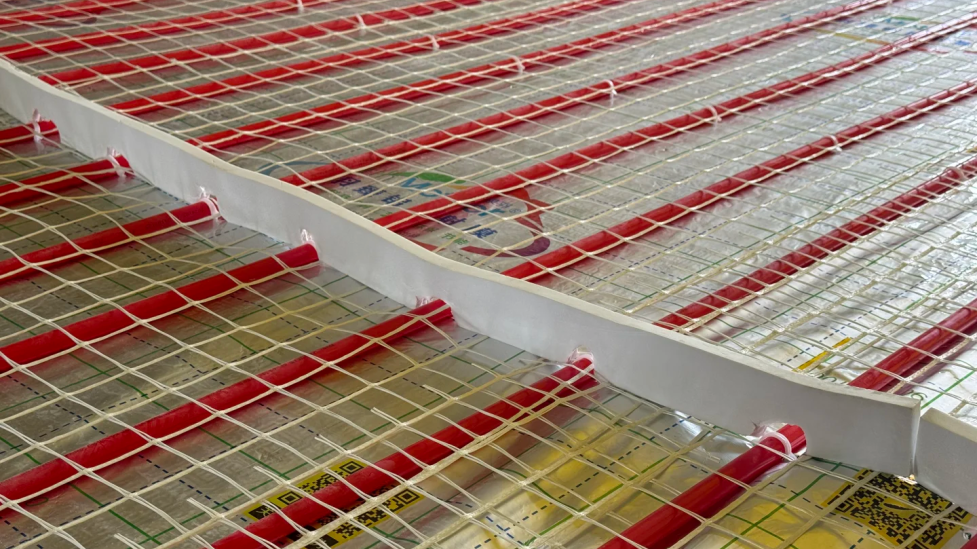
Fiberglass mesh reinforces the screed.
Edge strips absorb expansion.
Expansion joints are essential for heated areas over 30 m².
⑥ Poor Curing Practices
Fresh screed must be kept moist for at least 7 days. In hot weather, more frequent watering is required.
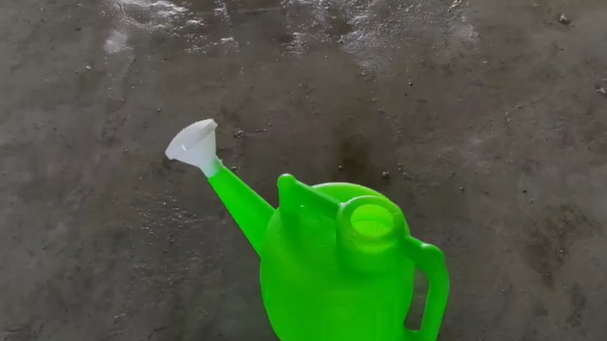
Before first heating, allow at least 21 days of curing, keep temperature above 5 °C and humidity above 40%, and avoid heavy loads on the surface.
3. How to Repair Screed Cracks
For Minor Cracks (<3 mm)
Use the filling method — widen the crack with a cutter, clean out debris, then fill with a specialist repair compound.
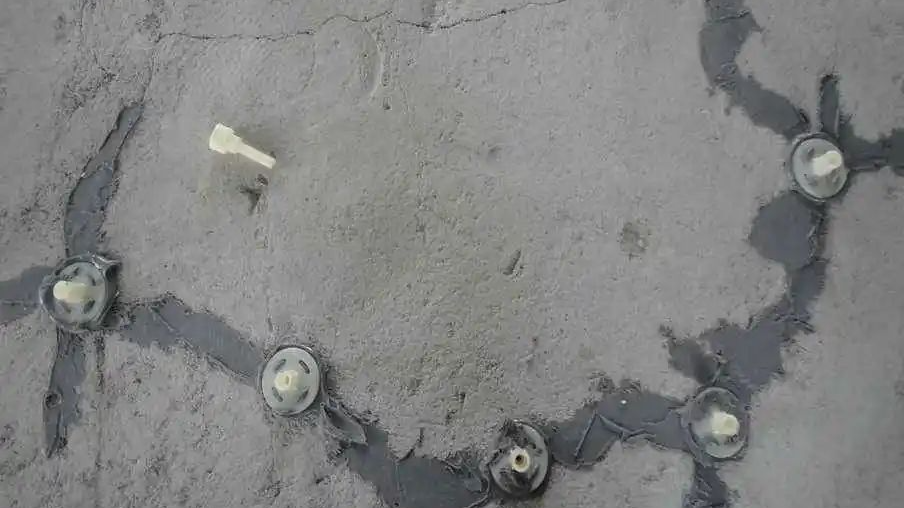
For Severe Cracks (>3 mm)
Use the replacement method — remove the damaged screed section and re-lay it.
4. How to Avoid Cracks in the First Place
Use high-thermal-conductivity gypsum self-levelling screed — low shrinkage, high strength, and great heat transfer.
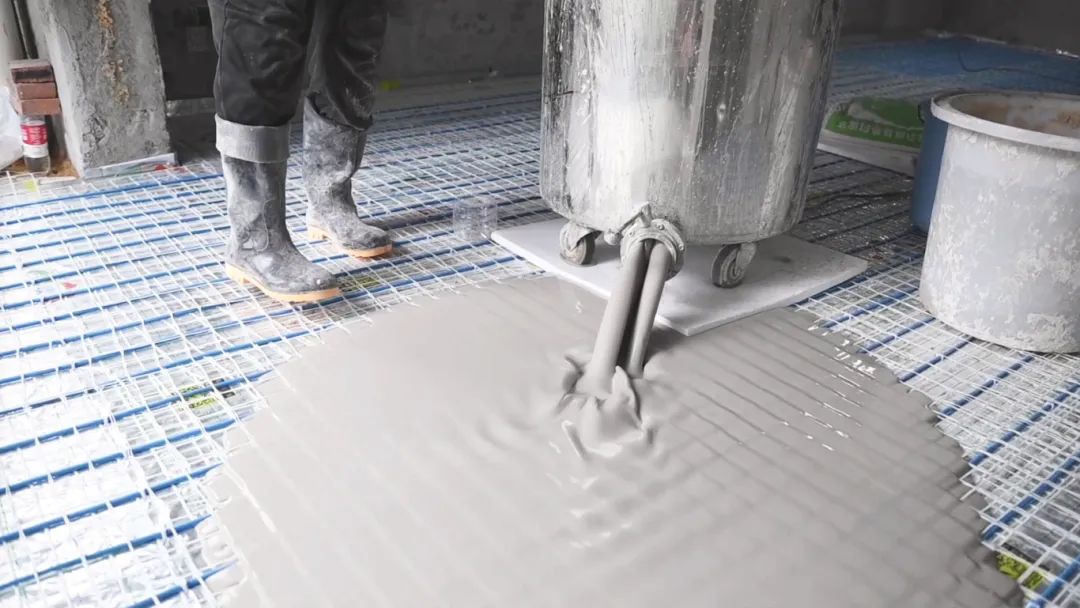
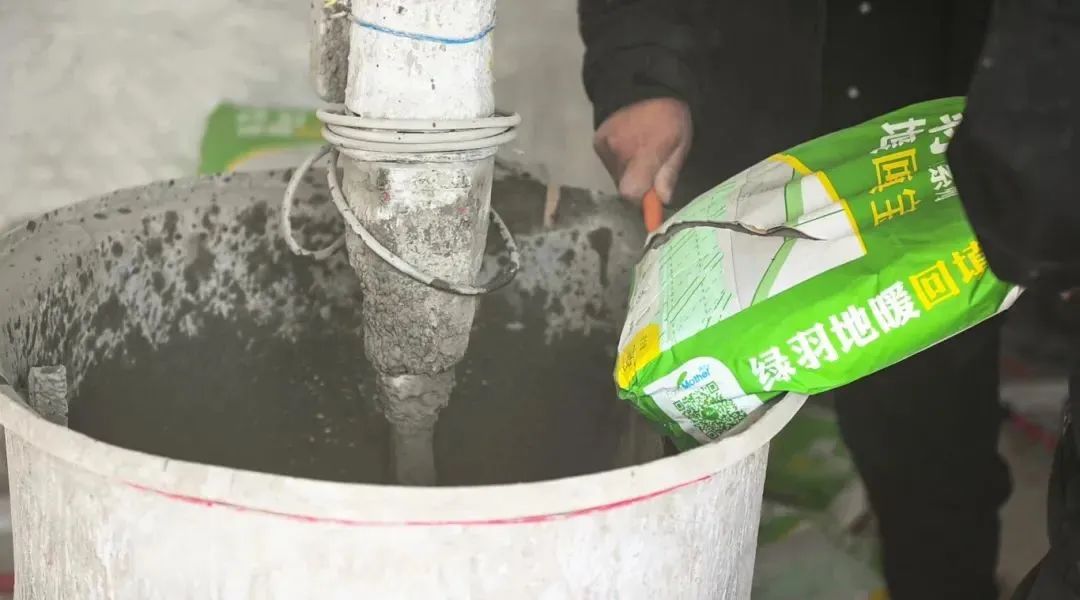
Try pre-mixed anti-crack screed which have scientifically designed ratios and anti-crack aggregates, eliminating the need for manual curing.
✍️ Bottom Line
Cracks in underfloor heating screed are common and usually fixable. Minor cracks can be repaired quickly, while major ones require targeted solutions. By using quality materials, following correct installation steps, and working with experienced professionals, you can prevent cracks and enjoy a flawless, long-lasting heated floor.