A Must-Read Before Installing Underfloor Heating: Even Beginners Can Oversee On-Site Workmanship
Recently, we received a call from a homeowner in Hangzhou who was extremely frustrated with his dry underfloor heating installation. According to him, the construction team lacked professionalism, the installation looked messy, and after laying the wooden floor, it made creaking noises that were both irritating and worrying.
Left with no choice, the homeowner had to remove the wooden flooring and redo the installation. He even invited our product manager to supervise the reconstruction. Fortunately, the final result turned out well—but not without significant time and energy spent.
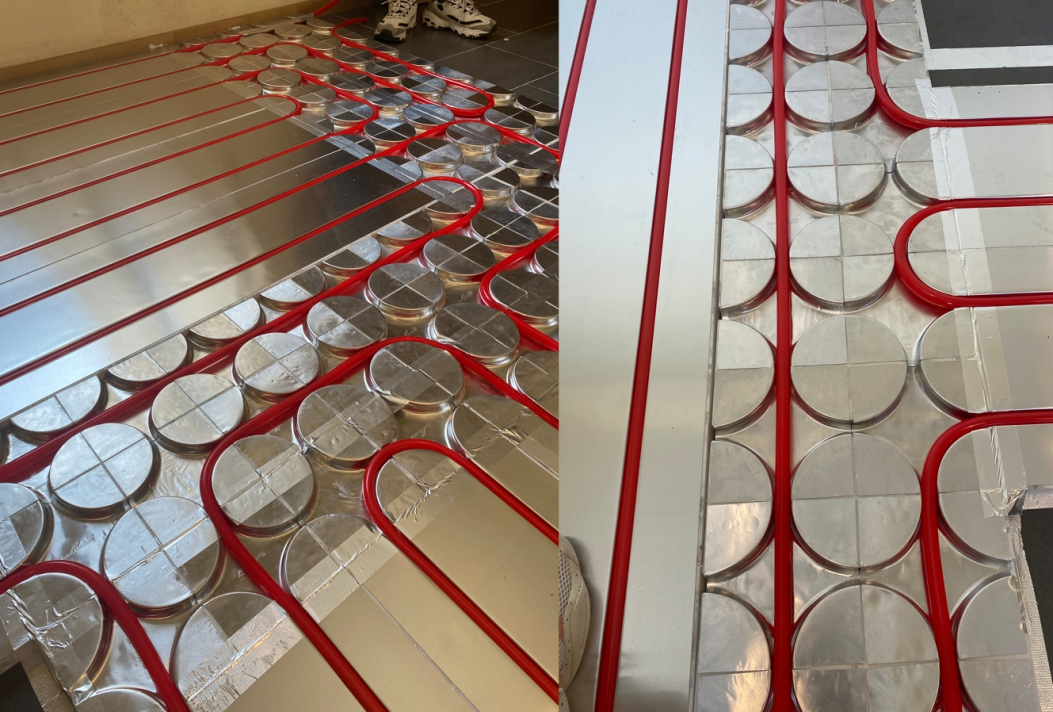
(Final result after rework)
So, as a first-time homeowner, how do you ensure proper installation and quality control of a dry underfloor heating system? Here’s a practical guide to help you get started.
01 Key Points for Ground Floor Preparation
We’ve emphasized the importance of base floor preparation in many of our previous articles. The core principle is self-leveling. The base floor must be flat and smooth to a standard suitable for wooden flooring installation. If not, problems will likely arise during later stages.
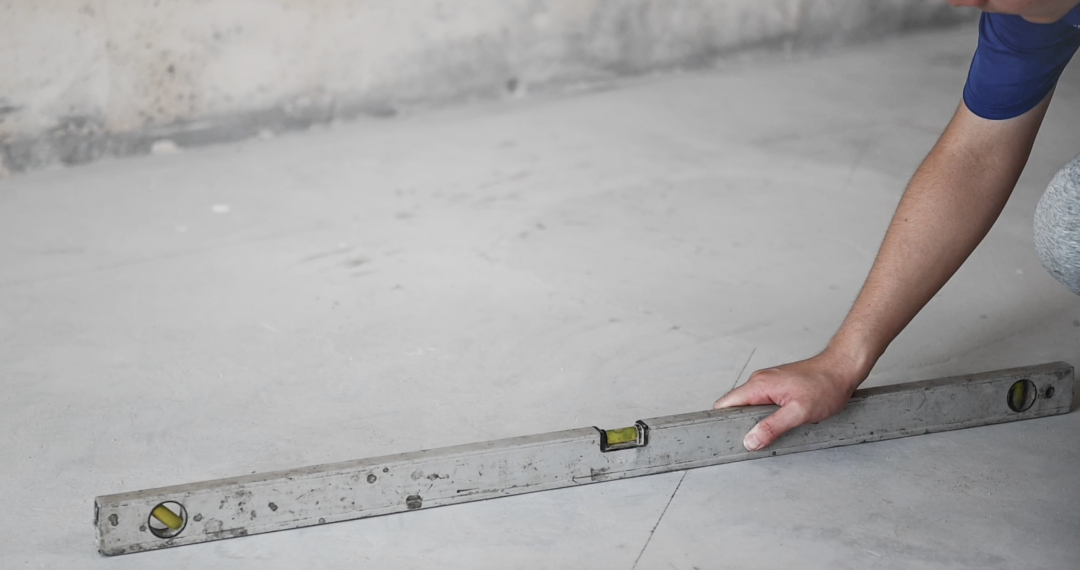
Before laying dry UFH panels, it’s also critical to clean the ground surface thoroughly, removing dust and any protruding debris. A clean and even surface lays the foundation for stable and long-lasting installation.
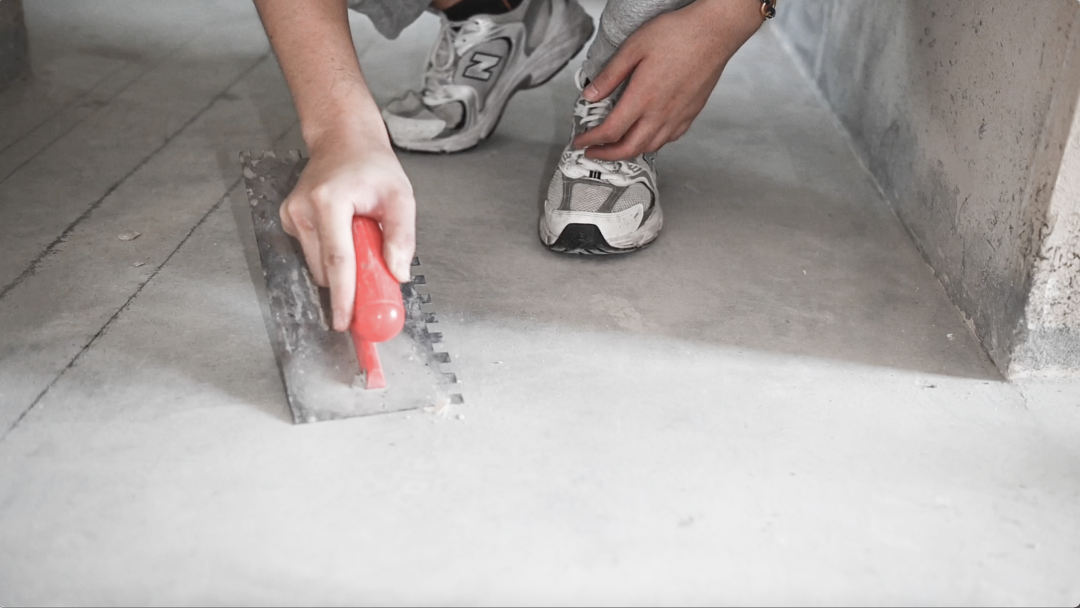
02 Key Details During Panel Installation
1. Minimize Cutting of Aluminum Plates
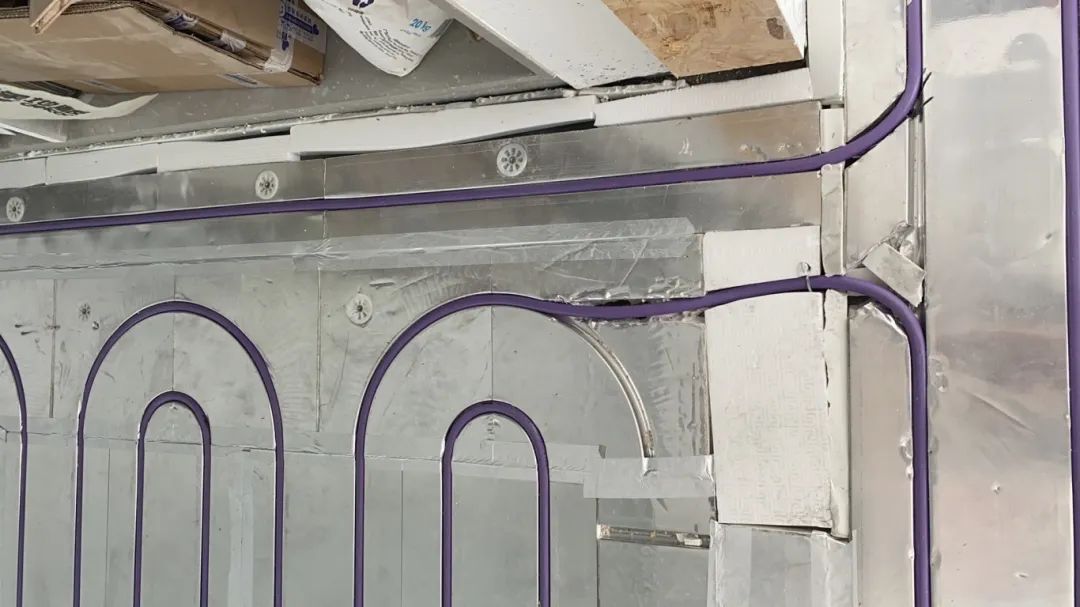
Excessive cutting of the aluminum plates can lead to creaking noises and negatively affect the overall appearance. Use pre-fabricated elbows and curved modules to handle turns whenever possible, reducing unnecessary modifications.
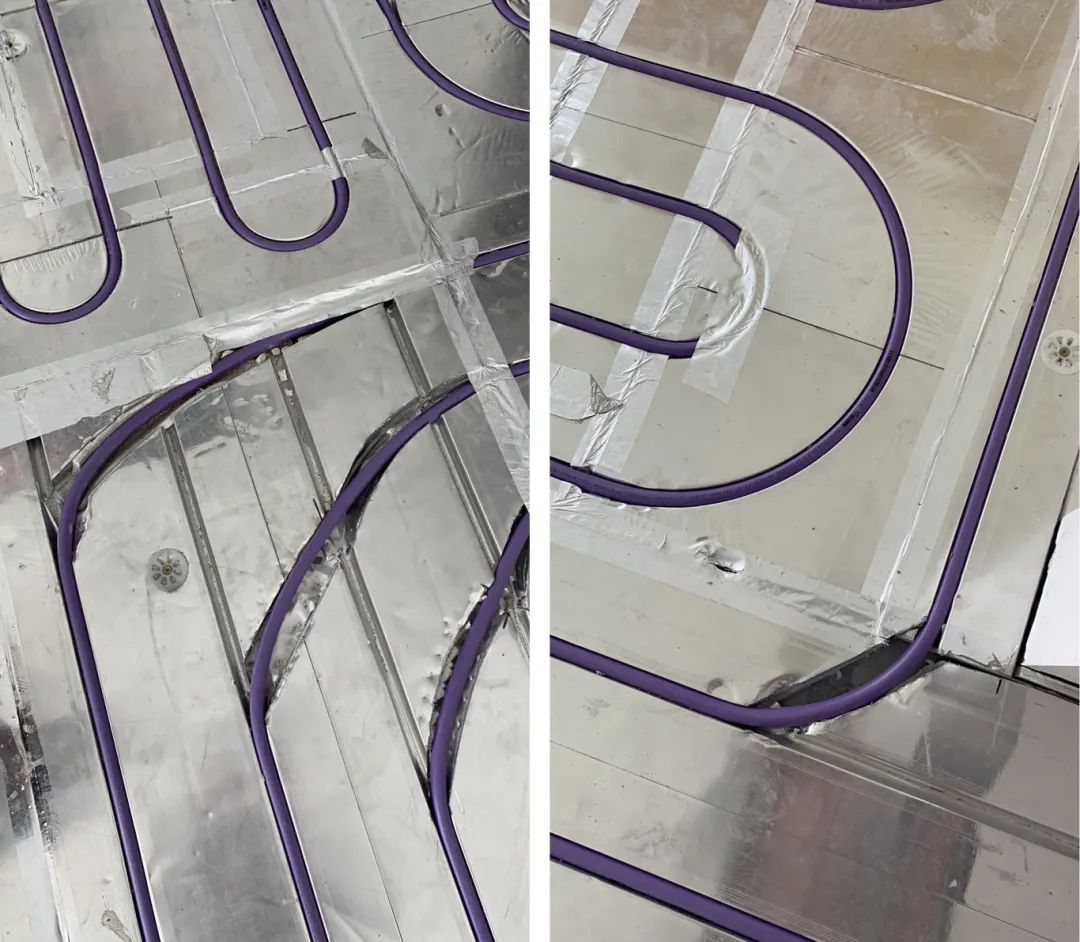
2. Proper Slotting and Gaps Filling
If slotting the plates or encountering large gaps between them is unavoidable, use polyurethane foam to fill the gaps. This helps prevent heat loss, secures the pipes, and reduces the risk of noise.
3. Door Threshold Reinforcement
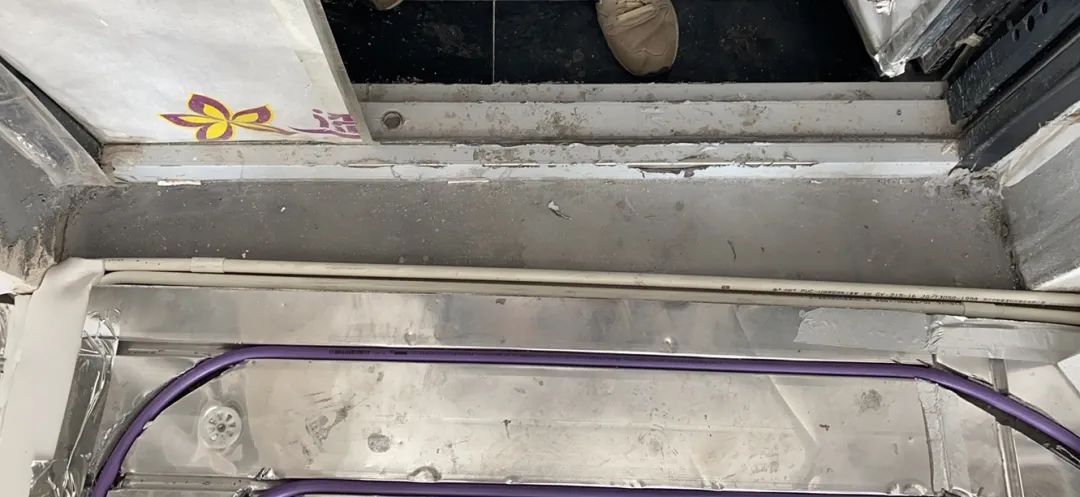
Entrance thresholds endure frequent foot traffic. To prevent future shifting or loosening, use a 3cm wooden batten or apply cement leveling. Never use just extruded polystyrene (XPS) boards in this area.
4. Preventing Plate Lifting
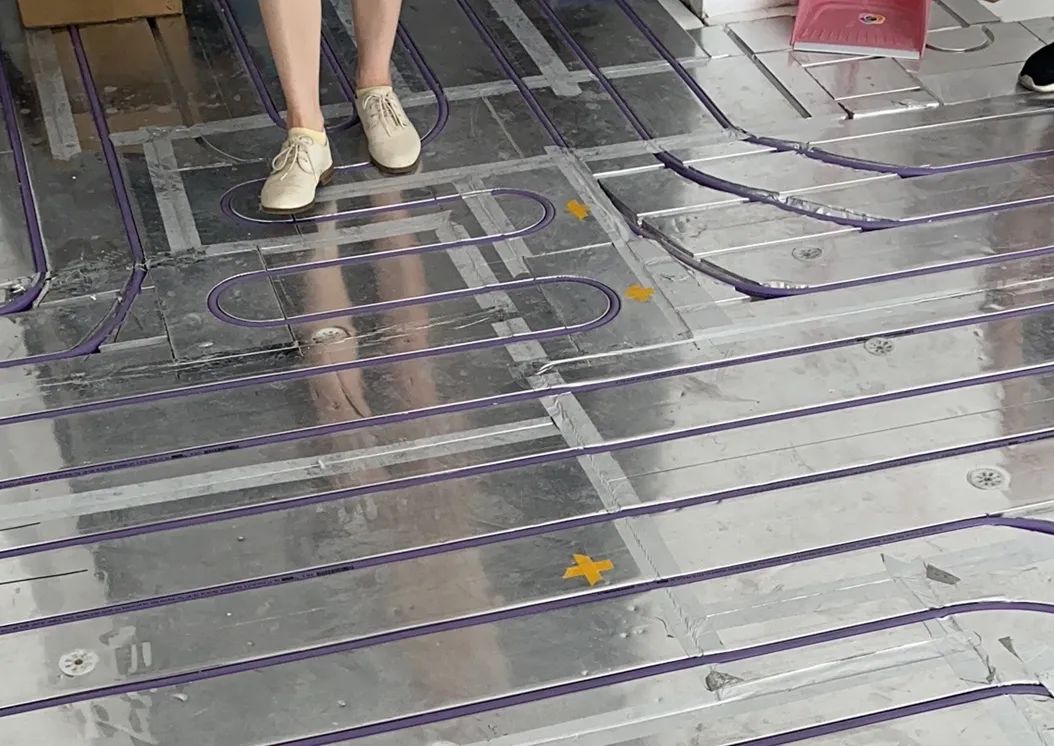
If the modules lift due to pipe stress or uneven subfloors, fix them in place using insulation nails to maintain stability and surface flatness.
5. Under the Manifold Area
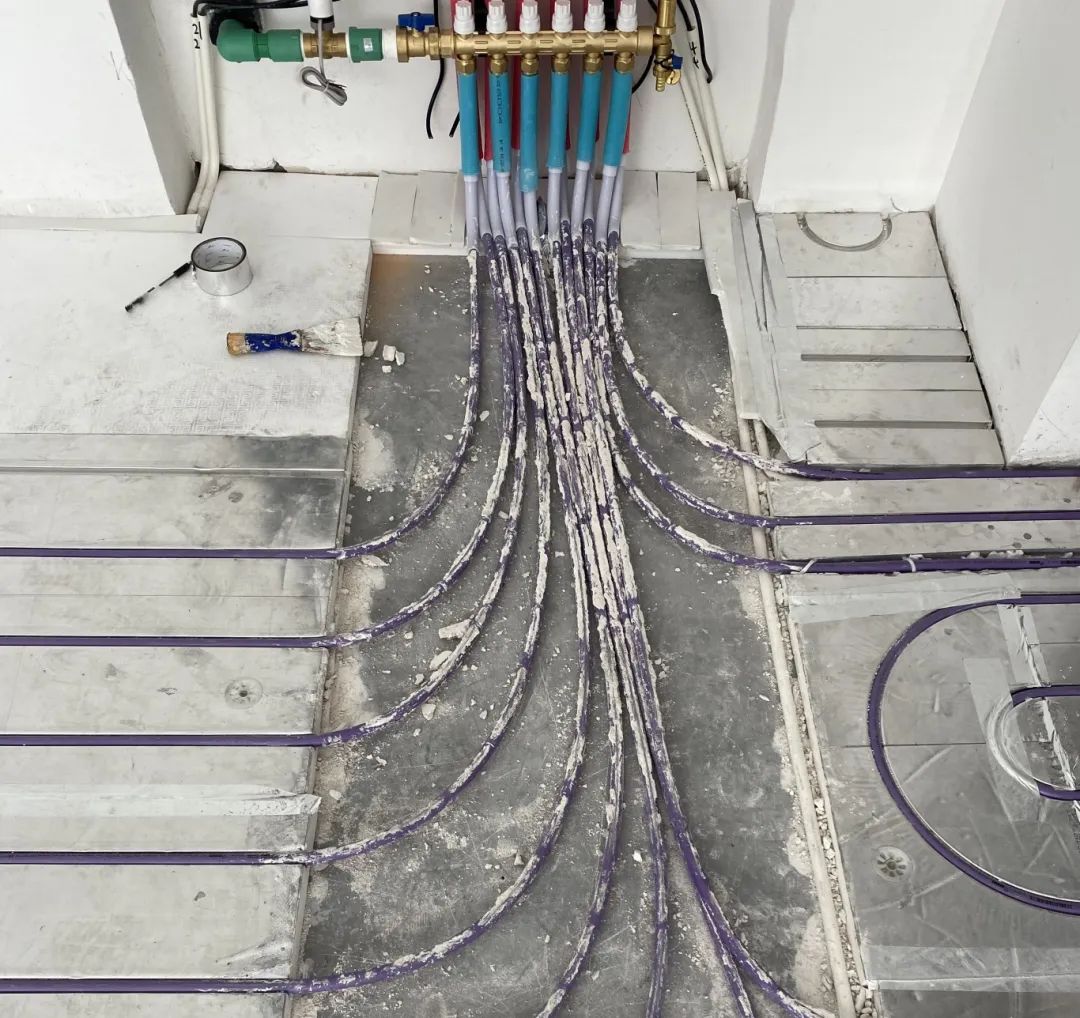
Avoid using cement under densely packed pipe sections like the manifold. Instead, use 3cm-thick grooved XPS boards, and fill underneath the pipes with polyurethane foam for stability and insulation.
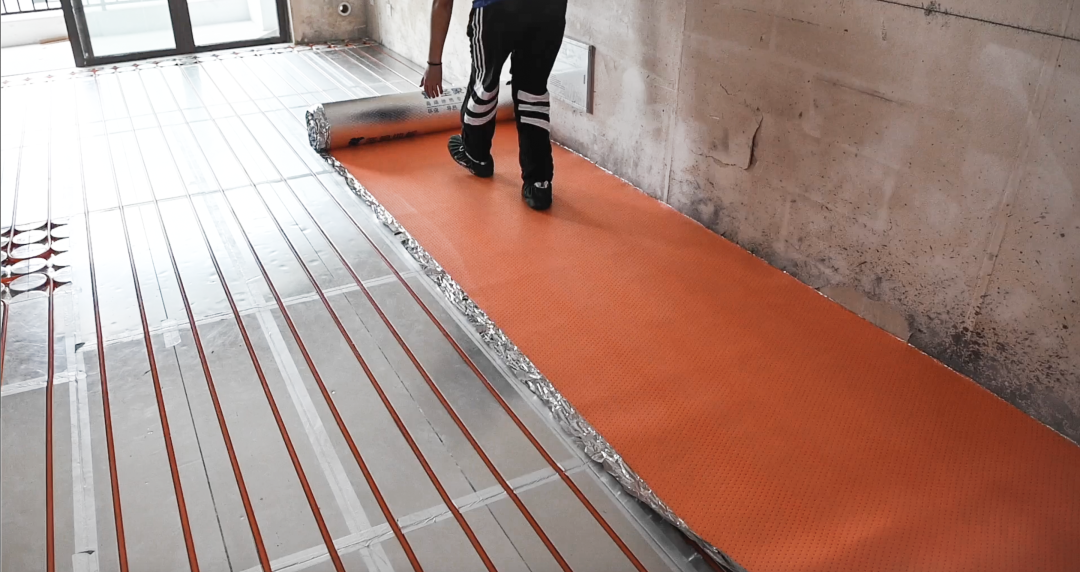
6. Soundproofing Under Wooden Flooring
Always install a sound insulation mat between the aluminum plate and wooden flooring to eliminate noise caused by direct contact. We recommend perforated pads with aluminum foil or composite fiberglass thermal mats, not exceeding 2mm in thickness.
03 Learning from Excellent Installations
Dry underfloor heating is known for being easier to install than wet systems, but it demands strict attention to both product quality and installation techniques. Inexperienced installers can cause serious problems.
To address this, Earthmother EZ300Pro features a patented universal head design that ensures easier pipe routing.We also provides a comprehensive dry installation guide to ensure consistent quality for your reference.
By understanding and checking for these essential installation and inspection points, even first-time homeowners can confidently oversee the underfloor heating installation process.